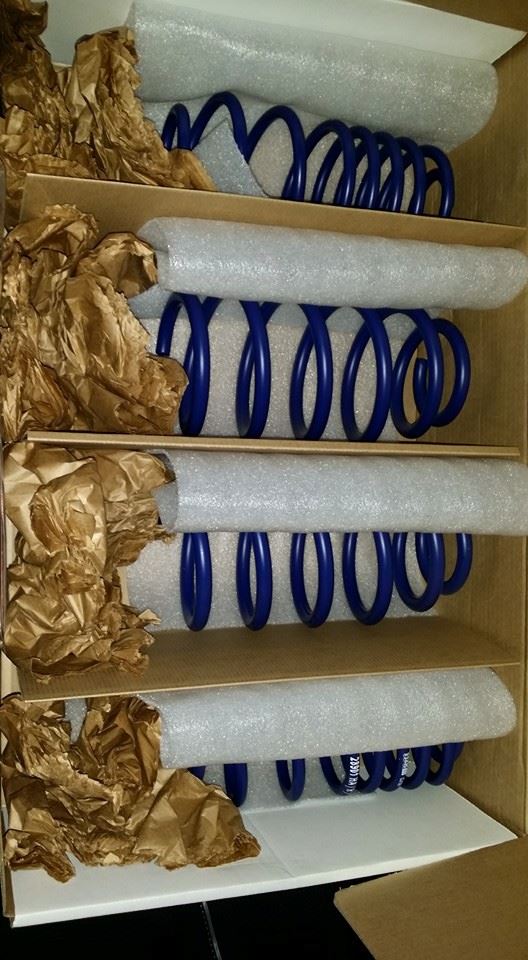
1. Gather Your Tools / Parts - Lowering Springs (Ref Pic 1) I Chose H & R - Impact Gun - Several Sockets (Impact & Normal) - Ratchets - Breaker Bar - Pry Bars - Jack - Jack Stands - Spring Compressors - Flat Head Screw Driver - Hammer / Rubber Mallet
2. I Would Recommend Having A Friend With And Not Doing This Alone The Spring Decompression & Compression Part Can Be Very Dangerous And Could Lead To SERIOUS Bodily Injury
3. Park Your Car . Engage Your Parking Brake / E - Brake . Chuck Your Rear Wheels . ! Safety First !
4. Jack The Front End Up And Put Your Car On Jack Stands
5. Pop Your Hood. Start At You Windshield Wiper Cowl And Use A Small Flat Head Screw Driver To Remove The 6 Push Clips & 1 Small Square Clip To Expose 8mm Bolt And Remove The Caps From The Windshield Wiper Arms Use A 15 MM Socket To Remove The Windshield Wiper Arm Bolt.
6. Grab The Windshield Wiper Arms With One Hand And Use Your Other Hand To Push Down On The Arm Closest To Mounting Point To Release The Wiper Assembly. DO NOT PRY. Now The Windshield Wiper Cowl Is Ready For Removal. Near Your Hood Hinges You Will Have A Rubber Seal That Needs To Be Pulled Back Before Removing The Cowl
7. Take Your Front Wheels Off And Remove The 2 Large Strut Bolts. These Are Splined And Need To Be Gently Hammered Out. Then Remove Your Upper Sway Link Bolt (Ref Pic 2). Now Back Up Top Remove The Single Strut Tower Nut (Some Prefer A Special Spanner Socket Part - CH 49375) (Ref Pic 3 & 4) To Remove The Strut Assembly


8. Once The Strut Assembly Is Remove Attach Your Spring Compressors To The Spring And Start To Compress The Springs So You Can Safely Remove The Strut Tower Top. I Would Suggest Using A Torx Bit And A Hand Wrench To Loosen Slowly And Safely
9. Once The Spring Is Remove Uncompress The Spring Nice And Slow. (Ref Pic 5) Once You Have Your Spring Compressors Free Attach Them To Your Lowering Springs Make Sure You Compress Them Enough And That The Bottom Of The Spring Sits Flush In The Bottom Of The Strut Cup (Ref Pic 6) Reinstall Your Strut Tower Top And Nut. Be Careful Not To Unpack The Strut Tower Top Bearings. I Tightened To Where 9 Threads Were Above The Nut.


10. Once Completed Fit Your Strut Assembly Back In Place Put The Upper Cap In Then Tighten The Upper Strut Tower Bolt (Some Prefer A Special Spanner Socket - CH 49375) And Tighten The Lower 2 Large Strut Bolts (May Require Light Hammering) Use Your Breaker Bar & Pry Bar To Realign Your Sway Link And Bolt Tight.
11. Reinstall Your Wheels. Congratulations You Have Just Completed Your Front Lowering Springs
12. For Starting The Rear Remove The Jack Stands And Lower Your Car Chuck Your Front Wheels And Put Your Car Into Gear. Jack The Rear End Up And Place On Jack Stands On The Rear Frame Rails
13. Use Your Jack On The Rear Torsion Bar And Jack It Up A Bit Then Remove The Lower Shock Bolt On Each Side Then Slowly Lower The Torsion Bar A Bit Till The Rear Springs Should Just Fall Out.
14. Place Your New Springs In And Slowly Jack The Torsion Bar Up To Align The Shock With The Bolt Hole And Tighten The Bolt Then Reinstall Your Wheels And Your Done.
15. Jack Your Car Up And Remove The Jack Stands. Remove Your Chucks. Remove Your Car From Gear. Pull Your Car Outside - Sit Back And Enjoy Your Hard Work! (Ref Pic 7 & 8)


0 comments:
Post a Comment